Virtual Try-On Glasses Python Project: A Step-by-Step Guide

Ever wondered how you can try on glasses virtually without physically wearing them? In this blog, we’ll walk you through the process of creating a Virtual Try-On Glasses project using Python and OpenCV. This project uses face detection and landmark recognition to overlay glasses on a user’s face in an image. If you’re excited to dive into a fun and practical computer vision project, you’re in the right place!
1. Overview of the Project
In this project, we’ll use a pre-trained model to detect a face in an image, locate the eye positions, and then place a pair of glasses on the detected eyes. We’ll walk through each step needed to achieve this effect. Here’s a quick breakdown:

- Face Detection: Detecting the face in an image.
- Facial Landmark Detection: Identifying key points on the face (especially around the eyes).
- Overlaying Glasses: Placing a pair of glasses at the correct position and angle based on the detected landmarks.
2. Libraries Required
Before starting, ensure you have the necessary libraries installed:

- OpenCV: For image processing and display.
- Dlib: For face detection and facial landmark recognition.
- NumPy: For mathematical operations like rotations.
You can install these libraries using pip:
pip install opencv-python dlib numpyYou will also need a pre-trained shape predictor model for detecting facial landmarks. Download the file named shape_predictor_68_face_landmarks.dat from the Dlib website and include it in your project.
3. Project Steps
Step 1: Face Detection
The first step is to detect the face in the image using Dlib’s get_frontal_face_detector(). This function identifies the region of interest (ROI) where the face is located in the image.
detector = dlib.get_frontal_face_detector()
Step 2: Facial Landmark Detection
Once we have detected the face, the next step is to identify the positions of the eyes. Dlib’s 68-face landmarks model can be used to detect these key points.
predictor = dlib.shape_predictor("shape_predictor_68_face_landmarks.dat")
For placing the glasses accurately, we focus on the eye landmarks (specifically points 36 and 45, which represent the outer corners of the eyes).
Step 3: Calculating Angle and Position
After detecting the eyes, we calculate the distance between them and the angle of the line connecting the two eyes. This is crucial for adjusting the glasses so they align with the face at the correct angle.
Using basic trigonometry, we calculate the angle between the eyes to rotate the glasses accordingly:
angle = np.degrees(np.arctan2(delta_y, delta_x))Step 4: Resizing and Rotating the Glasses
The glasses image (which should have a transparent background) is resized to fit the distance between the detected eyes. We also rotate the glasses based on the angle calculated in the previous step.
OpenCV’s cv2.resize() is used for resizing, and cv2.warpAffine() is used to rotate the glasses.
overlay_rotated = cv2.warpAffine(...)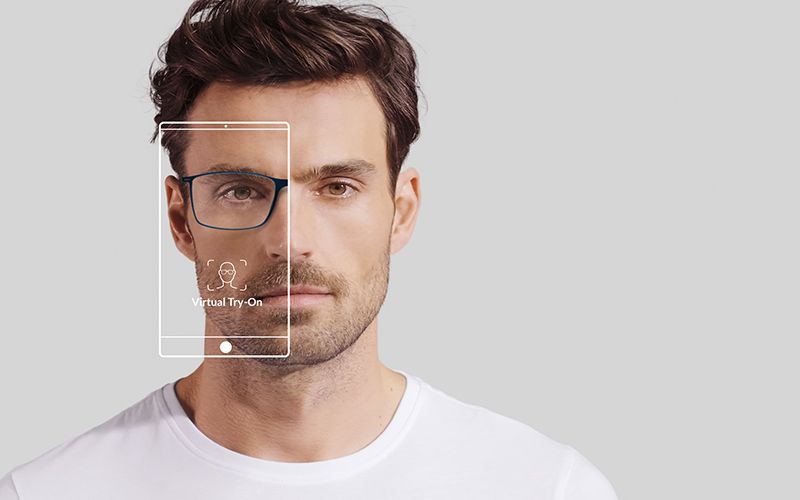
Step 5: Overlaying the Glasses
With the glasses now properly resized and rotated, the next step is to overlay them on the original image. We compute the alpha channel (transparency) of the glasses image so that the glasses blend seamlessly with the face. The placement is calculated based on the midpoint between the detected eyes.
alpha_mask = overlay_rotated[:, :, 3] / 255.0 # Transparency maskWe then apply the glasses on top of the face by blending the original pixels and the glasses pixels.
Step 6: Saving the Output Image
Once the glasses are successfully placed on the face, we save the final output image.
cv2.imwrite("output.jpg", frame)4. Key Considerations
- Accuracy of Landmark Detection: Ensure that the landmarks are correctly detected for the glasses to align properly. You can experiment with different glasses images to see which fits best.
- Distance and Scaling: If the face is too close or far from the camera, the size of the glasses may not match perfectly. You can fine-tune the size and position by adjusting the scaling factor in the code.
- Rotation Handling: Faces at extreme angles (profile shots) might not align perfectly due to limitations in simple 2D rotation. This can be improved with more advanced algorithms.
5. Why This Project is Fun and Useful
This virtual try-on project is an excellent way to learn about computer vision and the practical application of face and landmark detection. The same principles can be applied to try-on systems for different accessories (hats, earrings, etc.) or even augmented reality filters.
6. Get the Code
If you are looking for the full code for this project, feel free to contact us! We are happy to provide the complete working solution and guide you through any steps you may need help with.
Conclusion
Building a virtual try-on glasses project is an exciting way to learn how computer vision can be used in real-world applications. By following the steps above, you can create your own system to overlay glasses on a person’s face. Whether you’re a developer learning new techniques or a business exploring virtual try-on solutions, this project can be customized for your needs.

Need Assistance or Full Code?
Reach out to us for the full code and further guidance on how to enhance this project!